After creating a campaign, an Administrator will need to add Groups and Surveys to the campaign before adding Phone Banks, Texting or Canvass activities.
In the Amplify Demo Campaign below we can see two Campaigns, "Demo Campaign For Videos" and "A Campaign Name."
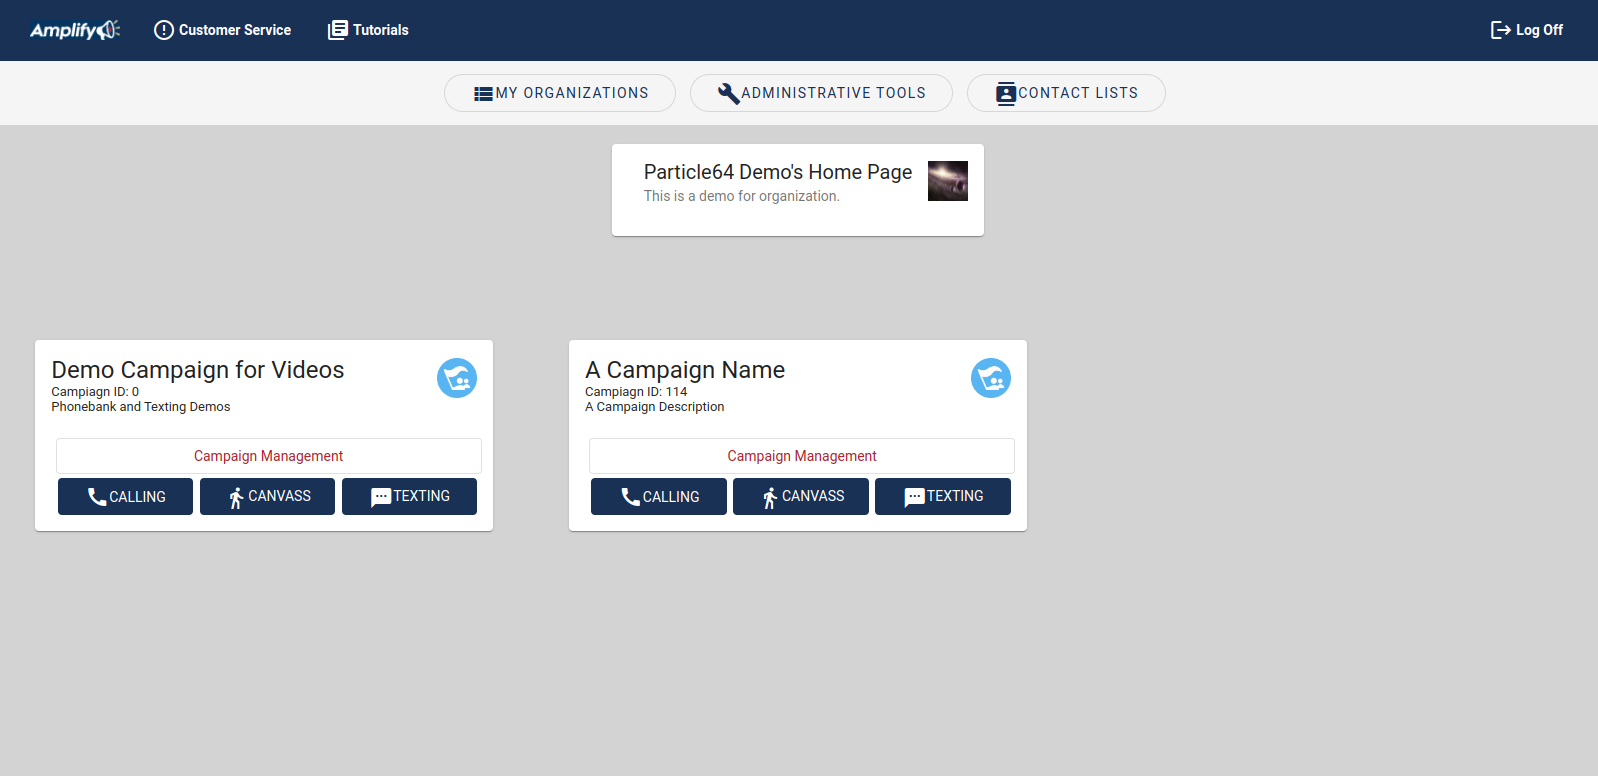
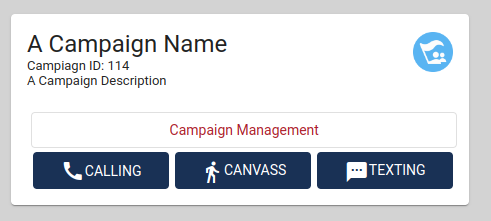
Click on the campaign's "Campaign Management"
Here, the Administrator can create the Surveys and Groups for the Campaign. It is necessary to create a campaign's Surveys and Groups before creating Phonebank, Texting and Canvassing activities.
Here, Administrators also manage:
- Edit Nonresponse Sets
- View and Download Reports
- Search Addresses and Voters
- Assign campaign Data Managers
- Approve Organizations' requests to join campaigns
- Create Polygons
- View Precinct data
Surveys and Groups have their own pages:
Nonresponse Sets
Nonresponse Sets are generic response added to surveys for canvassing and phonebanking. The one generated for Canvassing includes Wrong Adress (INVALIDADDRESS), Do Not Contact (DNC) and Not Home (NONRESPONSE). The one generated for Phonebanking includes Wrong Number (INVALIDPHONE), Do Not Contact (DNC) and Not Home (NONRESPONSE).
When a volunteer selects either Wrong Adress (INVALIDADDRESS), Wrong Number (INVALIDPHONE) or Do Not Contact (DNC), Amplify will filter out the bad address, phone number or contact from the Campaign's contact lists or voter file.
When a volunteer selects Not Home (NONRESPONSE), the contact can be added again to the activity. Activities can be reset for another pass to include the not homes.
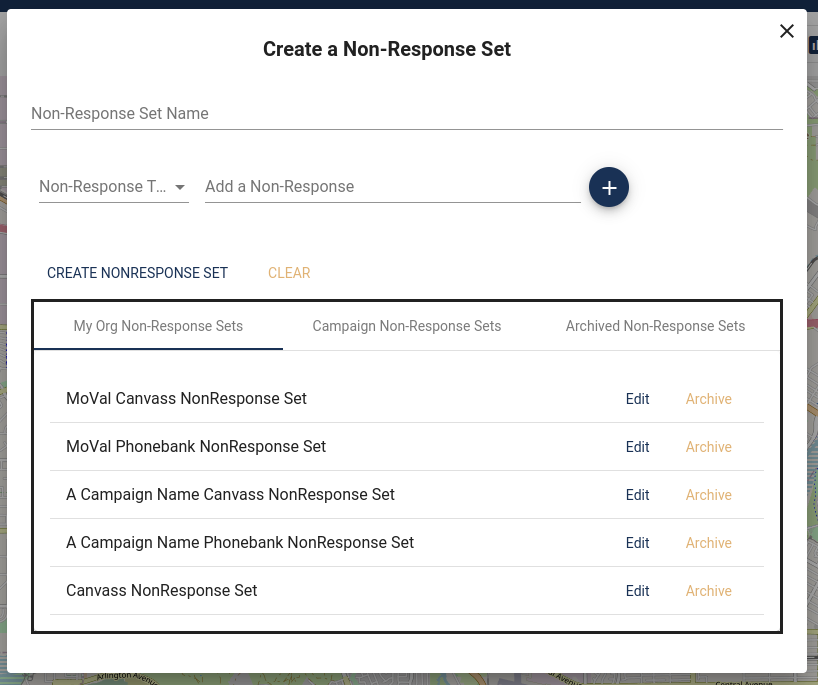
An Administrator can create, archive and edit existing Nonresponse Sets. A Non-Response Set is required to create activities.
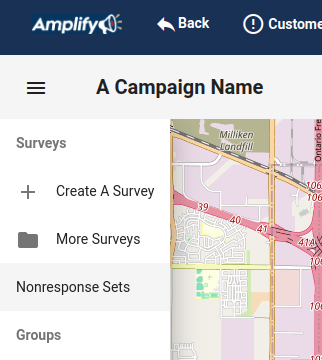
Click on Nonresponse Sets
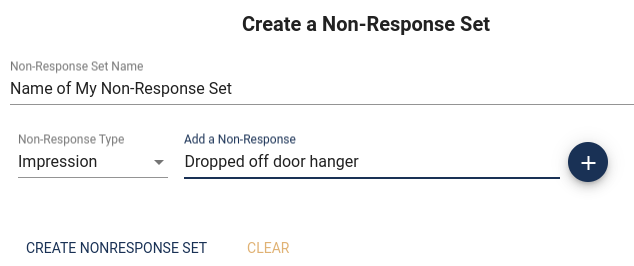
Give the Non-Response Set a name. Select a Non-Response Set "Type" and add the text that the volunteer will see under "Add a Non-Response Set". Click the Plus Icon
Add as many as you like: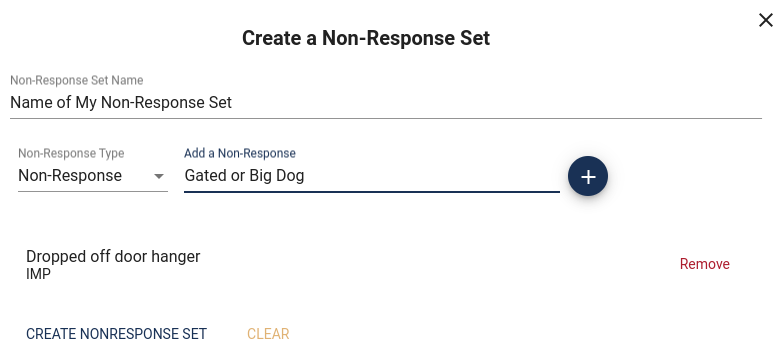
Then click on "CREATE NONRESPONSE SET"
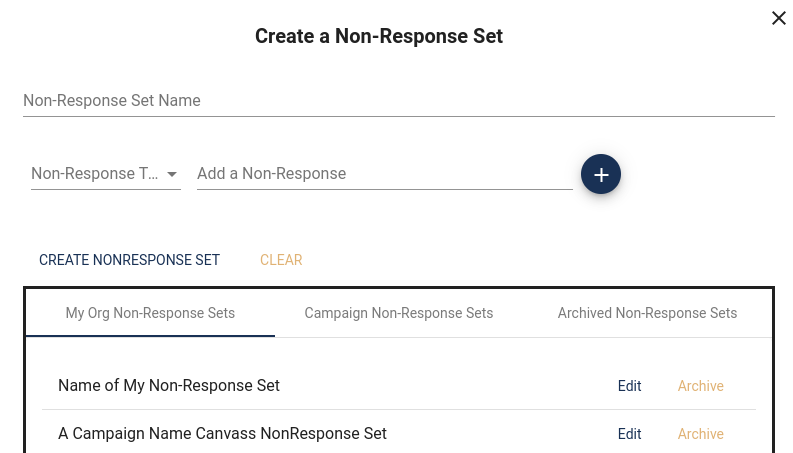
The non-response set is now available to add to an activity's survey.
View and Download Reports
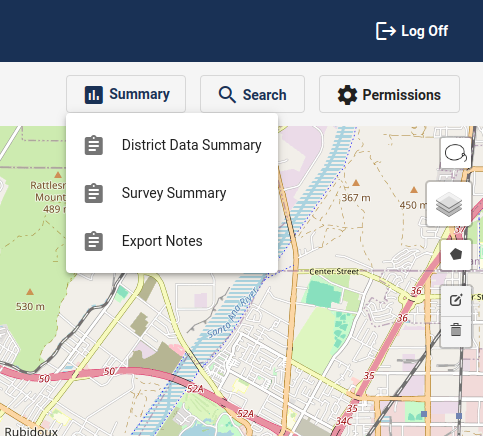
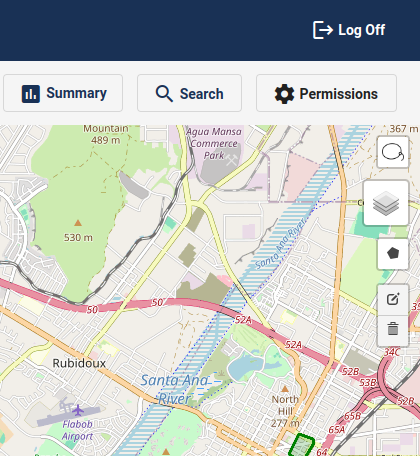
To view reports click on "Summary" in the top right menu.
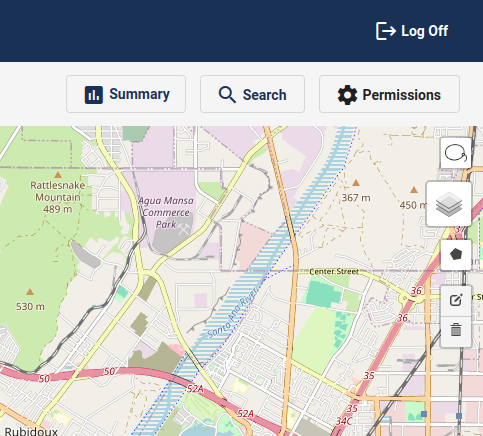
Here you will see "District Data Summary," "Survey Summary" and "Export Notes"
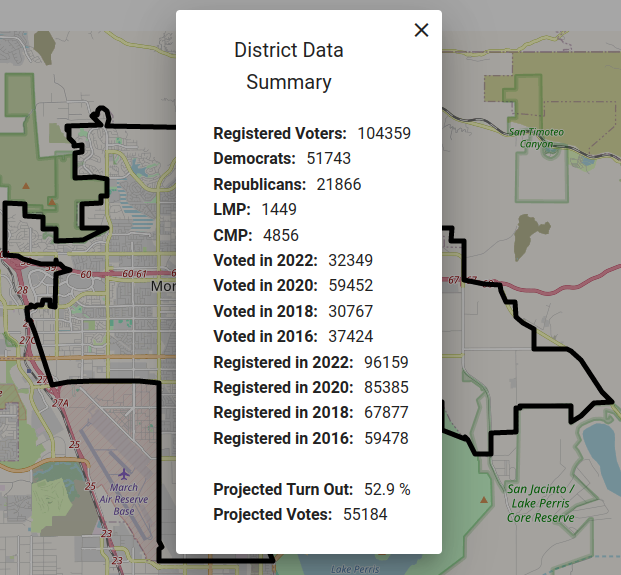
The "District Data Summary" is a summary of the number of voters in a district and the voter participation and a projection of voter participation for the next election.
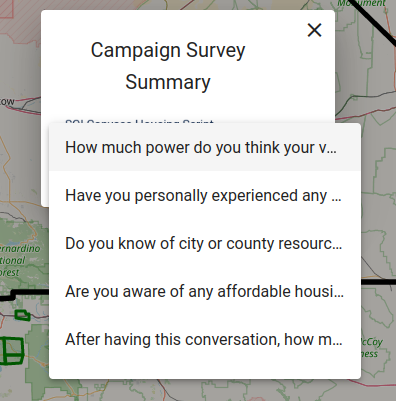
The "Survey Summary" is an aggregated table of the responses to a question on an organization's survey.
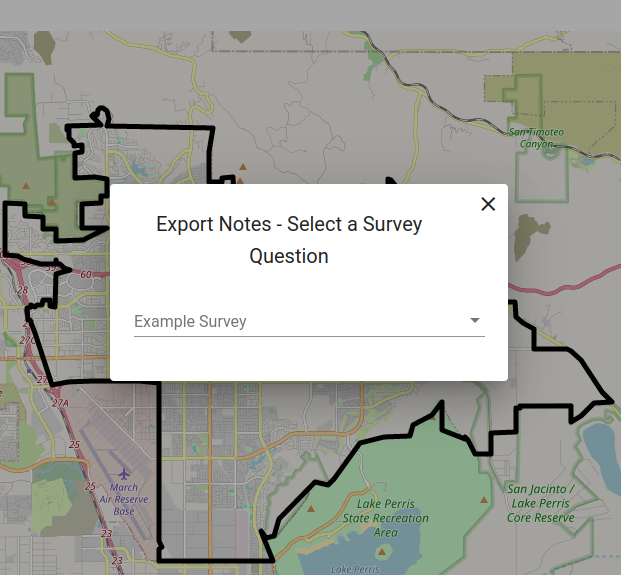
"Export Notes" will export the text from survey questions that have a text field as a response. The notes are the ones added by volunteers.
District Data Summary:
For a Campaign Survey Summary:
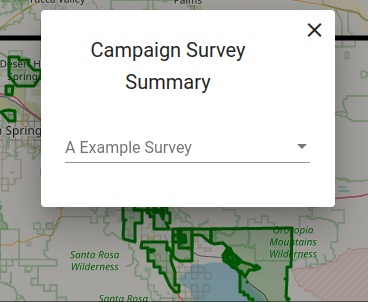
Select a Survey Question fro the drop menu.

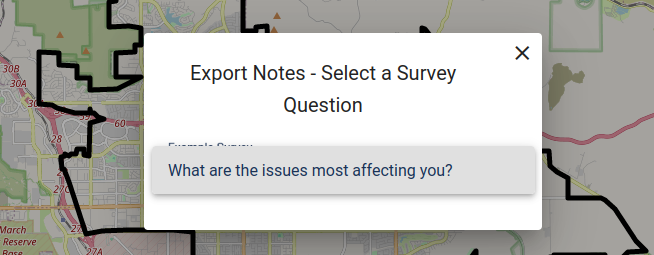
To Export Notes select a survey question.
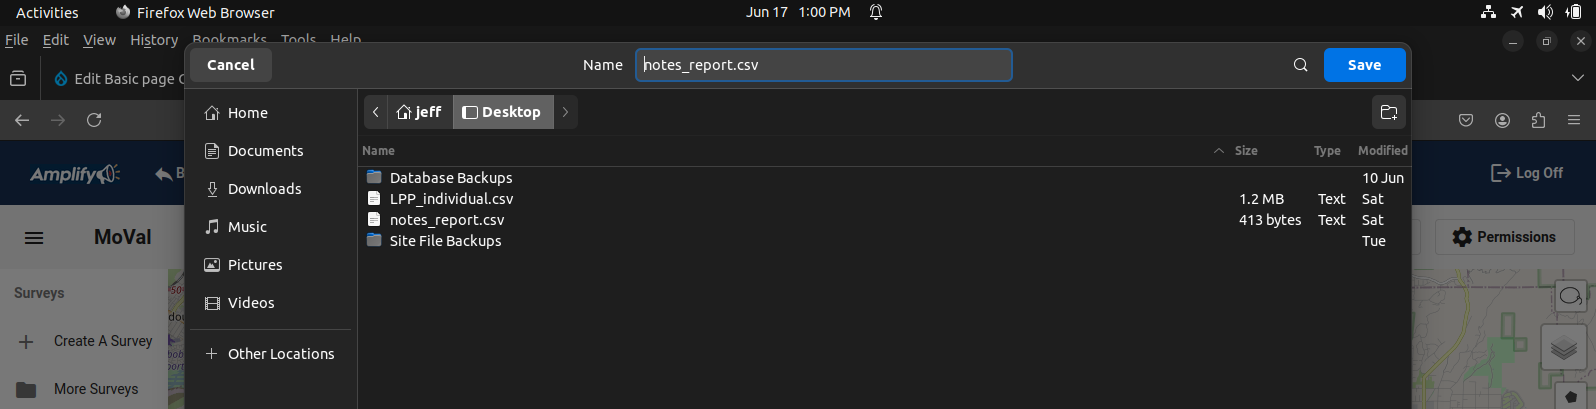
You will be prompted to download a CSV file that will have the text responses to the questions.
Search Addresses and Voters
An Administrator can search for an address or a voter.

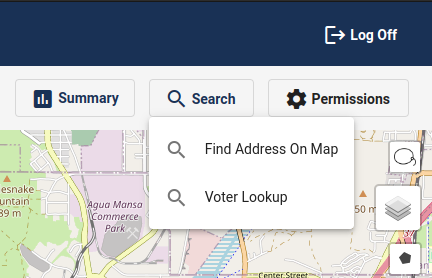
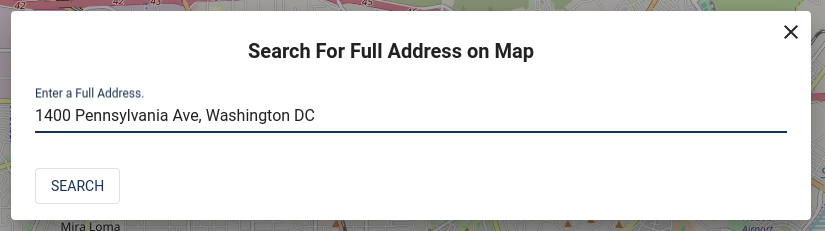
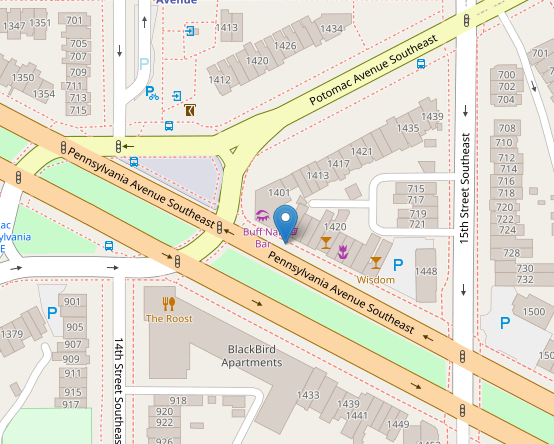
Find Address On Map
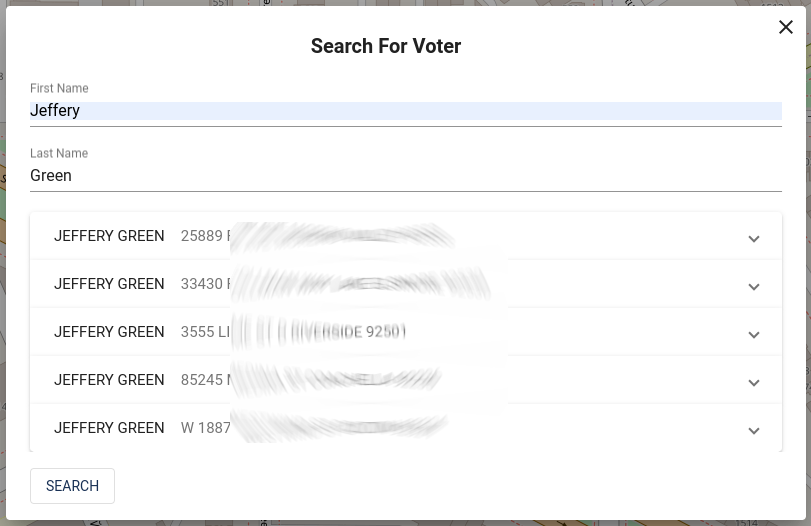
Voter Lookup
Enter First Name and Last Name.
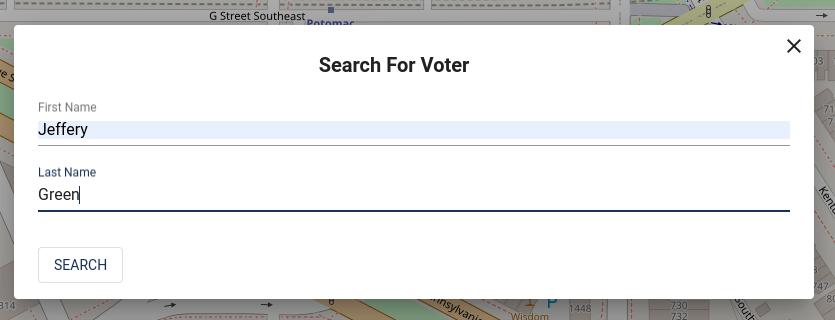
If the name is in the organization's voter file, it will be listed by address.
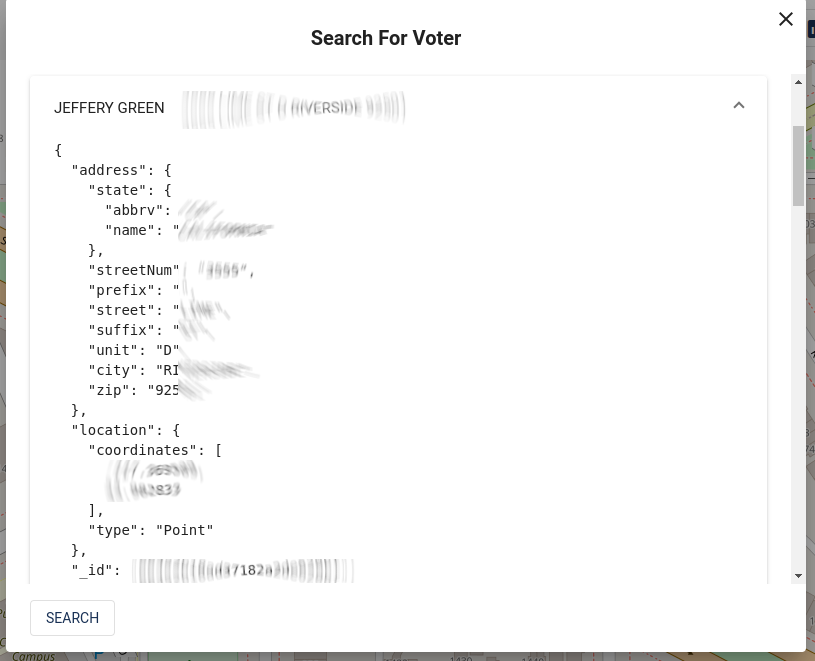
An Administrator can see the database info on a voter by clicking the down arrow icon:
Assign Campaign Data Managers and Approve Organization Requests to Join Campaigns
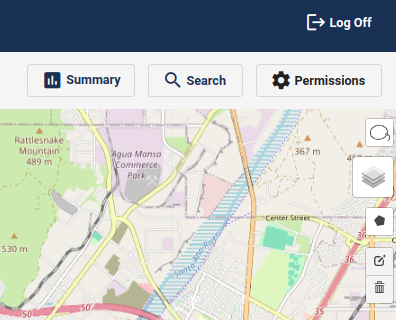
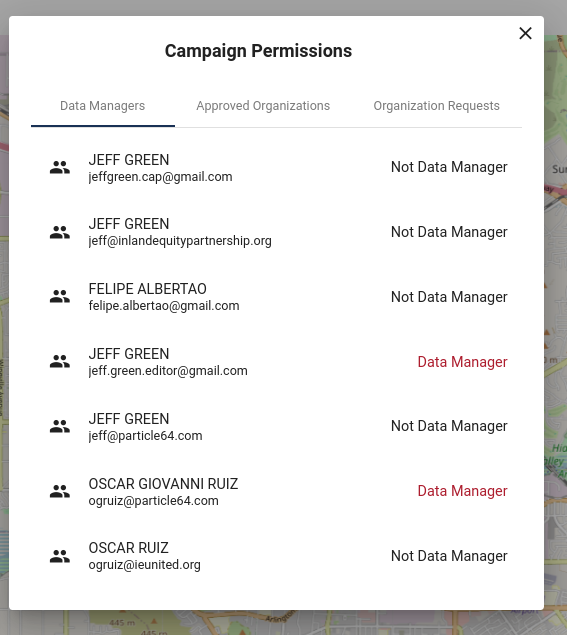
Click "Permissions"
The Campaign Permissions form allows an Administrator to assign the Data Manager roll and approve access to the campaign for other organizations.
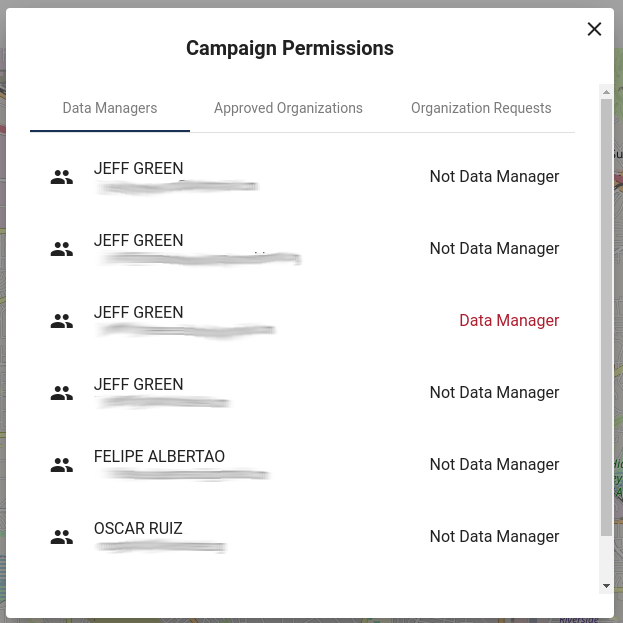
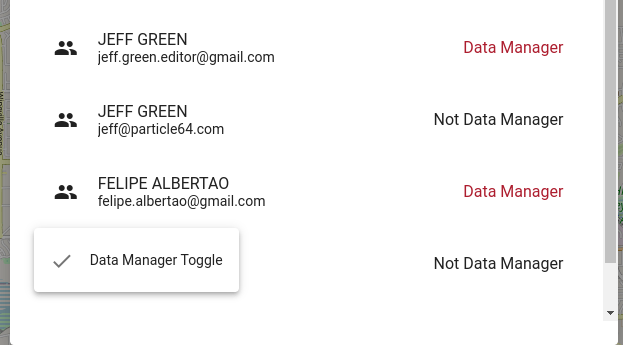
To make a user a Data Manager click on their name and then click on "Data Manager Toggle"
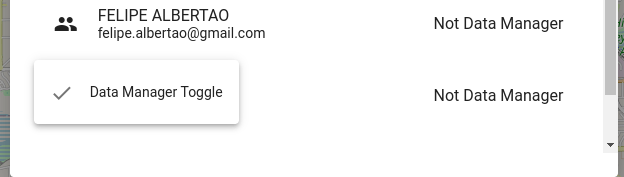
To remove the permission, repeat the same steps.
Approve Organizations' requests to join campaigns
After an organization request to join a campaign, the Administrators can approve them in the Permissions form. To approve an organization's request to join the campaign, click on "Permissions."
In the "Campaign Permissions" menu you will see "Organization Requests." Click it
In this example, the Organization "Tenant's Union" is requesting to join the campaign.
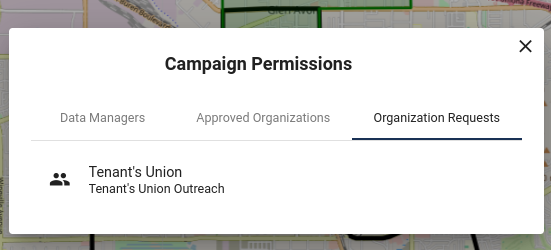
Click on "Tenant's Union" and select either "Approve" or "Deny"

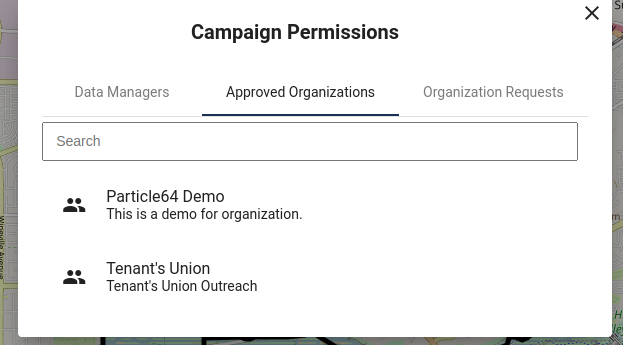
As many organizations as you like can join a campaign. You can see the list of Approved Organizations here:
Create Polygons
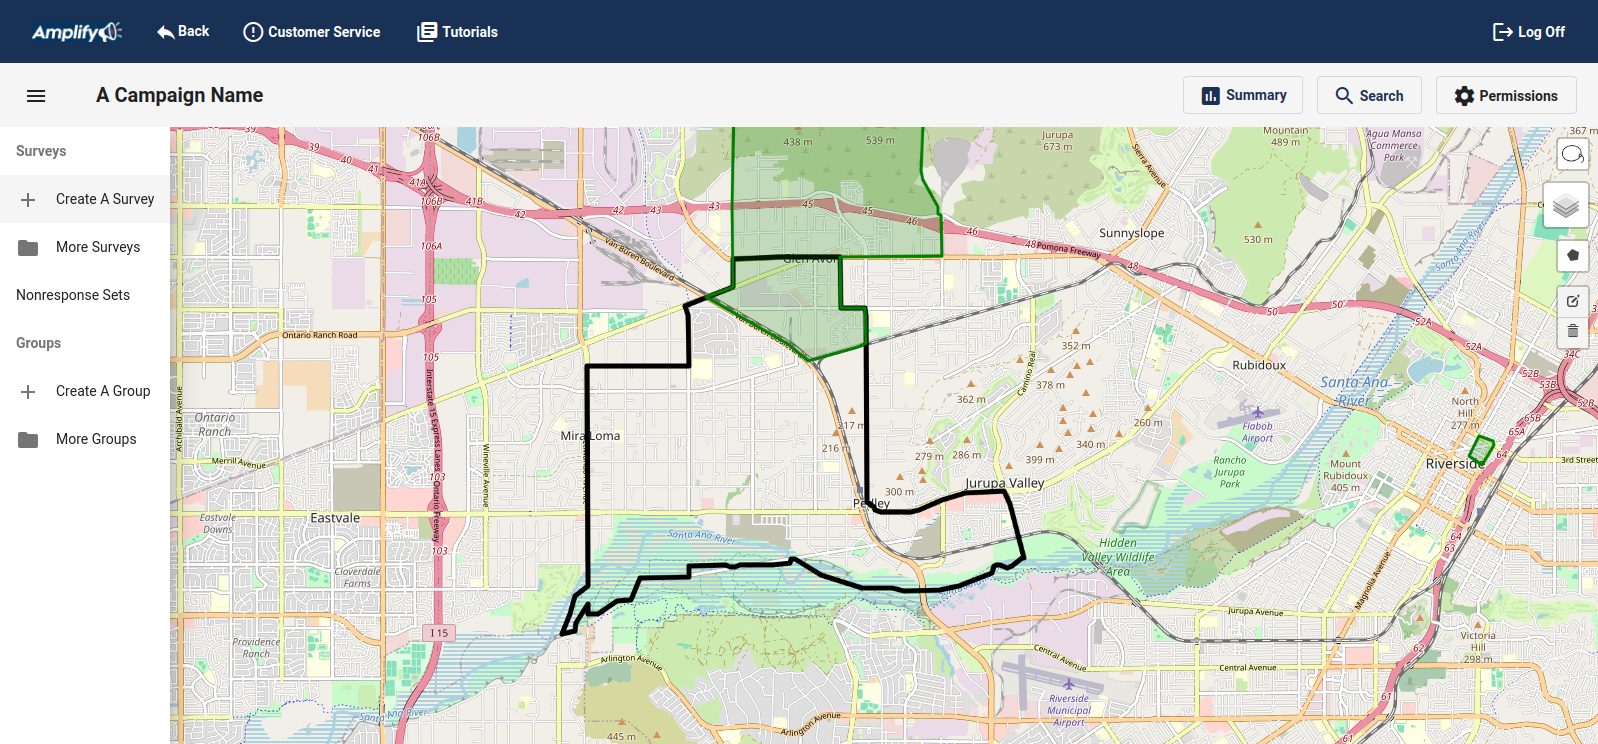
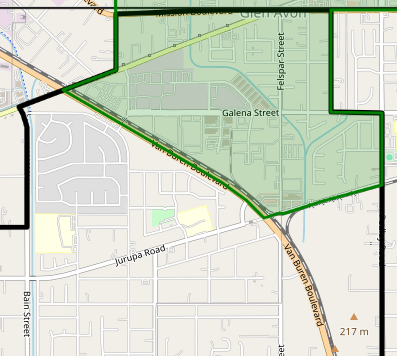
An Administrator can draw Polygons on the campaign map.
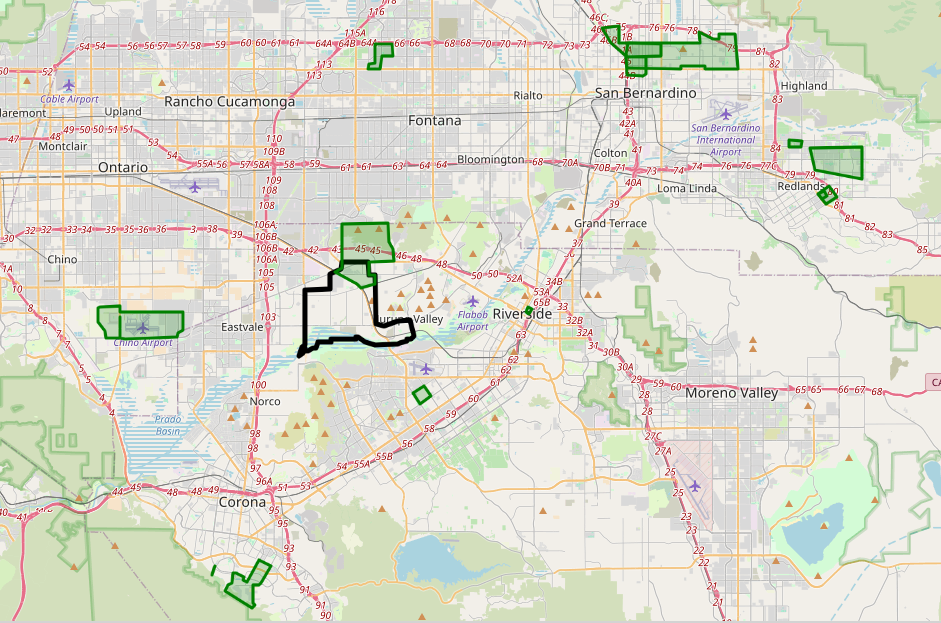
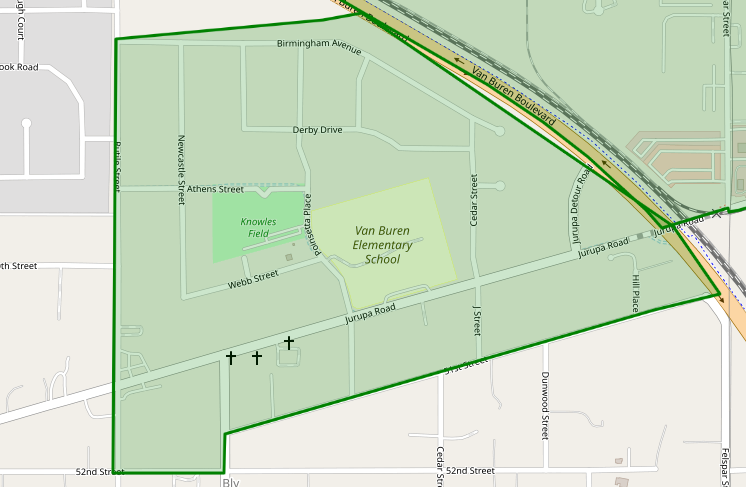
The green areas on this map are Polygons. The only one that will load Contact or Voter Data is the one that overlaps with the Campaign's defined District. The District is the area outlined by the heavy black line. The Campaign will only pull in people within the City Ward that was defined when creating the campaign.
Let's zoom in and create a Polygon:
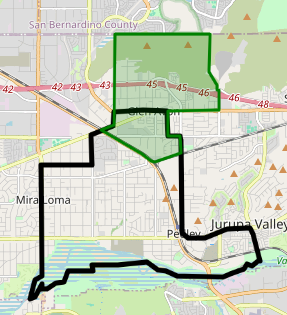
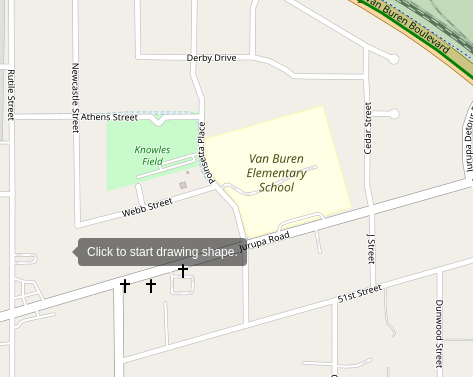
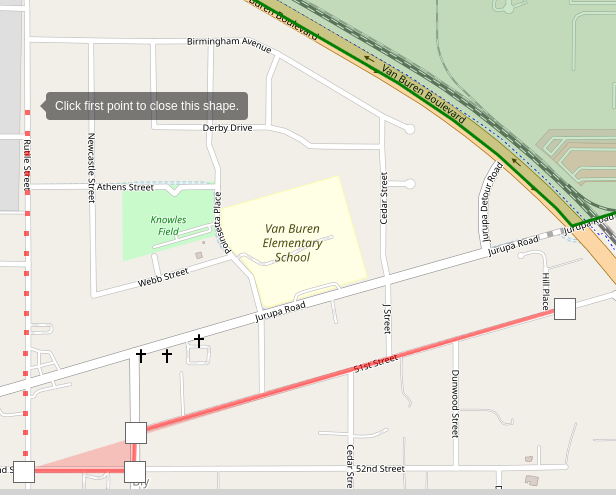
If we want to canvass, phonebank or text voters or contacts around Van Buren Elementary School. We can draw a Polygon on the map and name it.
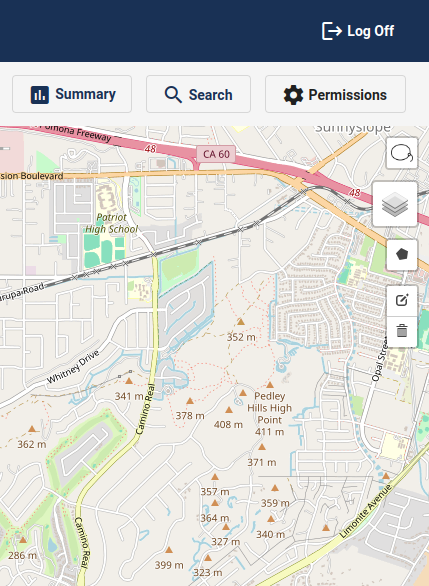
On the right side of the map there is an icon like this: ![]() "Draw a Polygon" will show when you hover over it with a cursor.
"Draw a Polygon" will show when you hover over it with a cursor.
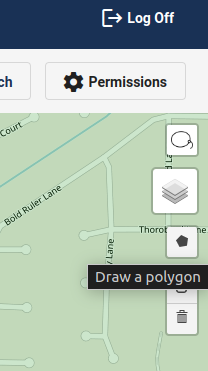
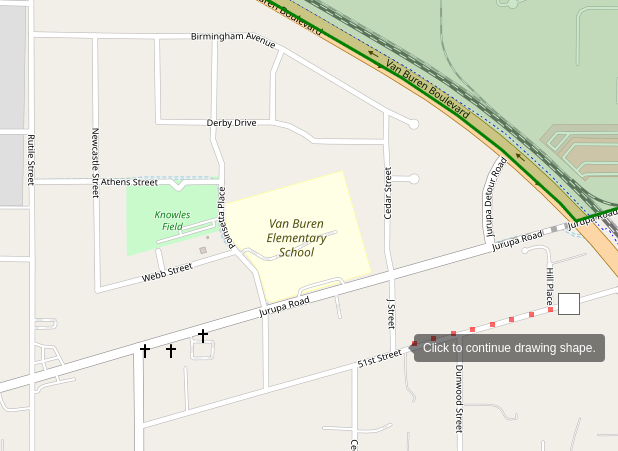
When clicked, the cursor will change to a targeting plus sign and say "Click to start drawing shape."
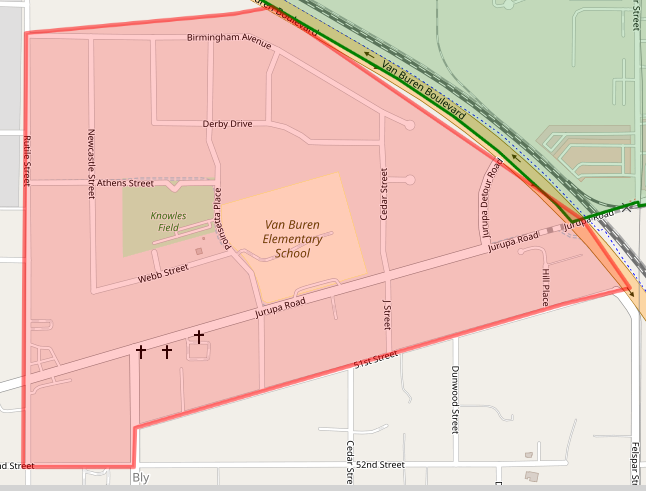
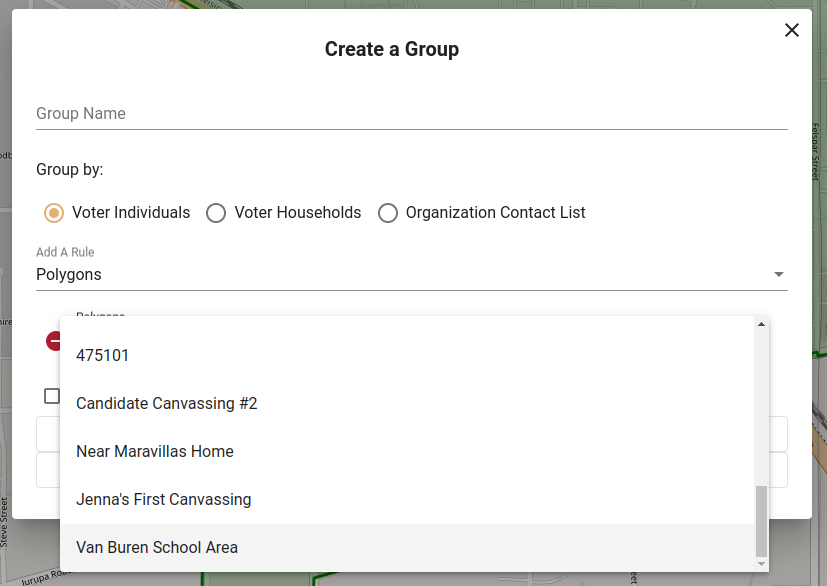
Once a Polygon is drawn, it will need a name. The name given here will be the one used when creating groups.
Click on the Polygon
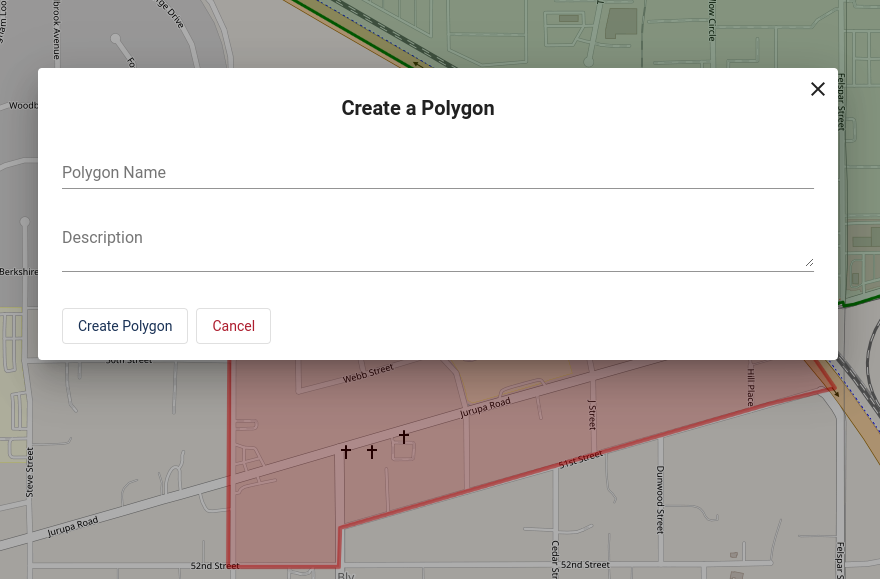
Give it a name and description. (The description is optional). Then click Create Polgon
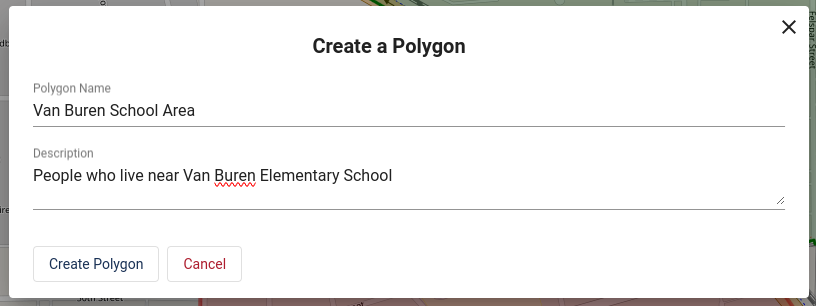
The polygon will turn green. It is read to use when creating groups.
View Precinct data
On the right hand side of the map, just above the Polygon tool, there is the map layer Icon. Click the Map Layer Icon and check the box next to "Precincts."
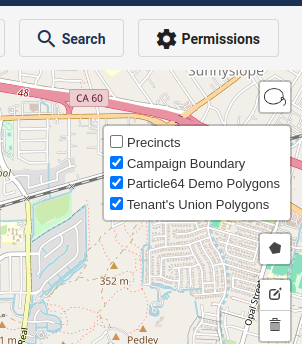
The map will load the Precinct Data.
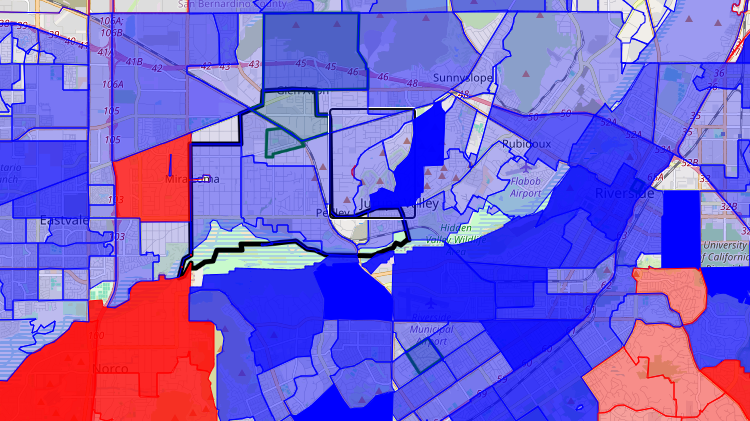
The map is color coded. If the area is blue, the largest plurality of registered voters are Democrats. If the area is red, the largest plurality of registered voters are Republican. If the area is yellow, the largest plurality of registered voters are third party and/or No Party Preference . If the precinct color is darker (more dense) the population is more dense. If the precinct color is more transparent, the population (of voters) is less dense.
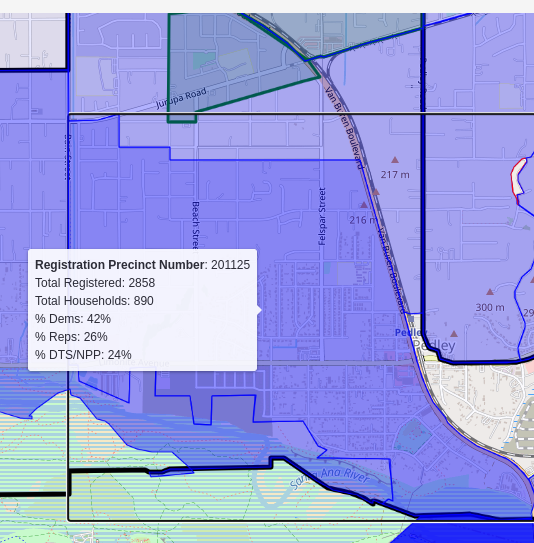
Clicking on a Precinct will show the precinct's stats:
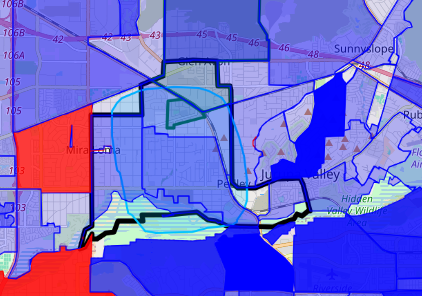
Using the lasso tool, an Administrator can create Polygons out of one or more Precincts. The lasso tool is above the map layer tool on the top right.

Any precinct that the Lasso circle overlaps will be added to the polygon.
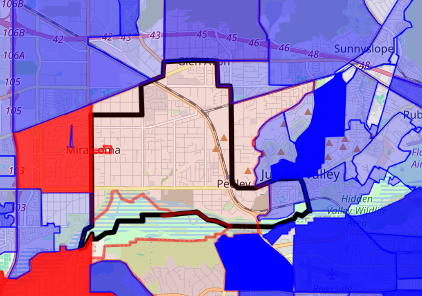
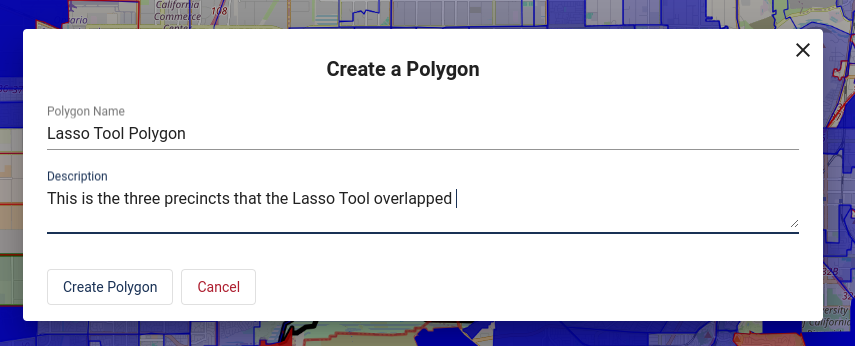
Once named and saved, the new polygon will be available to use when creating groups.