After creating a campaign, an Administrator will need to add Groups and Surveys to the campaign before adding Phone Banks, Texting or Canvass activities.
In the Amplify Demo Campaign below we can see two Campaigns, "Demo Campaign For Videos" and "Demo Campaign Title."
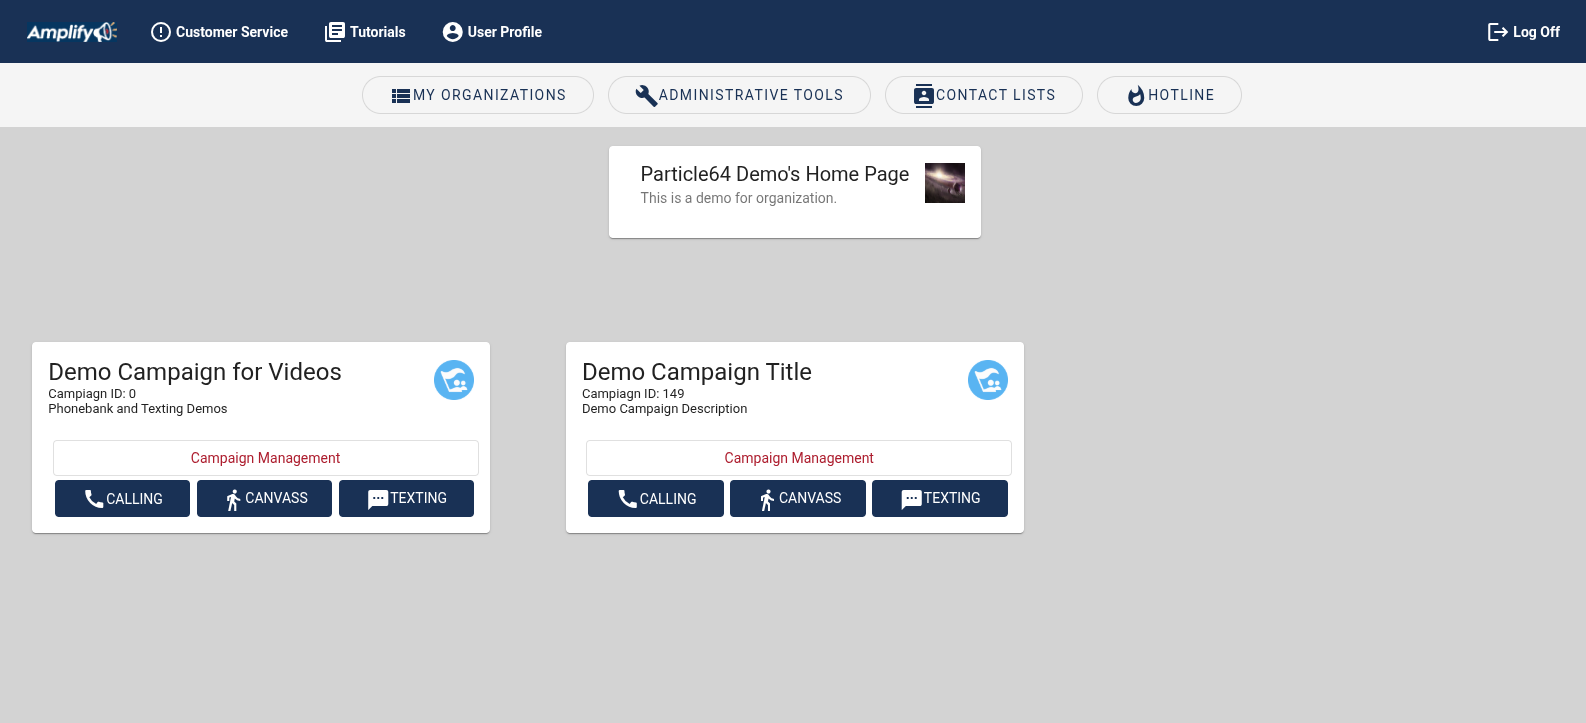
Click on the campaign's "Campaign Management"
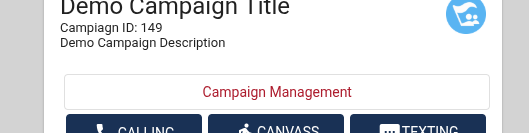
Here, an Administrator can create the Surveys, Groups, Polygons, Phonebanks, Canvases and Textbanks for a Campaign. It is necessary to create a campaign's Surveys and Groups before creating Phonebank, Texting and Canvassing activities.

Here, Administrators also manage:
- Edit Nonresponse Sets
- View and Download Reports
- Search Addresses and Voters
- Assign campaign Data Managers
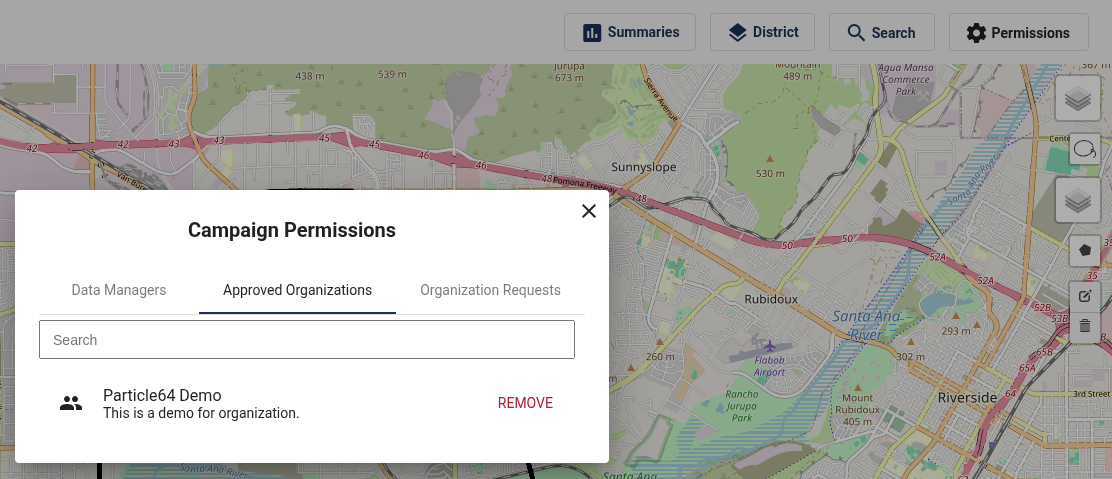
- Approve Organizations' requests to join campaigns
- Create Polygons
- View Precinct data
- District Data Reports
Nonresponse Sets
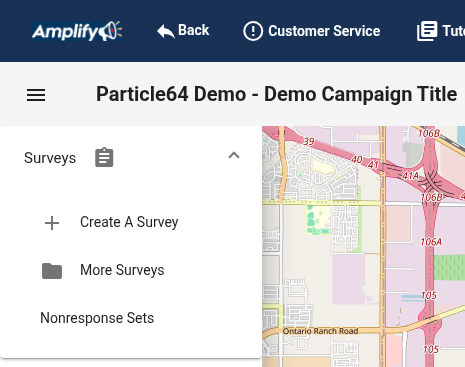
By expanding the Survey menu item, you see the Nonresponse Sets. Nonresponse Sets are generic response added to surveys for canvassing and phonebanking. The one generated for Canvassing includes Wrong Adress (INVALIDADDRESS), Do Not Contact (DNC) and Not Home (NONRESPONSE). The one generated for Phonebanking includes Wrong Number (INVALIDPHONE), Do Not Contact (DNC) and Not Home (NONRESPONSE).
When a volunteer selects either Wrong Adress (INVALIDADDRESS), Wrong Number (INVALIDPHONE) or Do Not Contact (DNC), Amplify will filter out the bad address, phone number or contact from the Campaign's contact lists or voter file.
When a volunteer selects Not Home (NONRESPONSE), the contact can be added again to the activity. Activities can be reset for another pass to include the not homes.
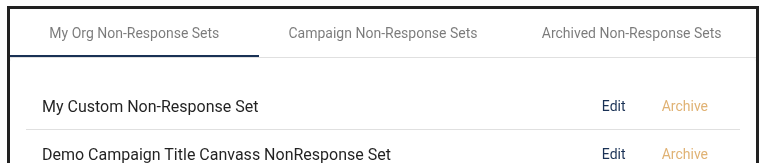
An Administrator can create, archive and edit existing Nonresponse Sets. A Non-Response Set is required to create activities.
Click on Nonresponse Sets
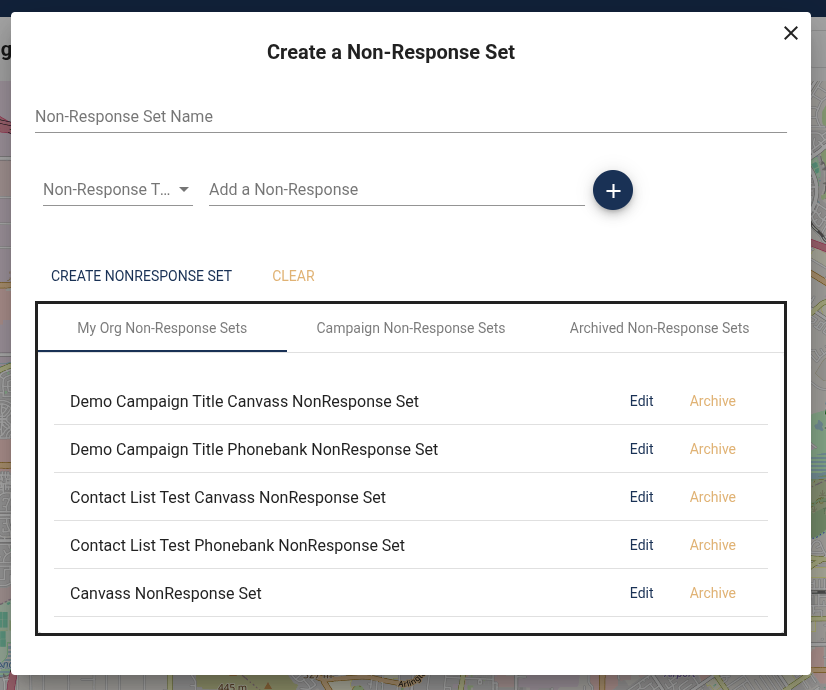
There are serviceable Nonresponse Sets that are created when the campaign is created but if if an Administrator wants to add custom nonresponses to a survey they can.
Give the Non-Response Set a name. Select a Non-Response Set "Type" and add the text that the volunteer will see under "CREATE NONRESPONSE SET." Give it a name and add the button text and how you want to record the response.
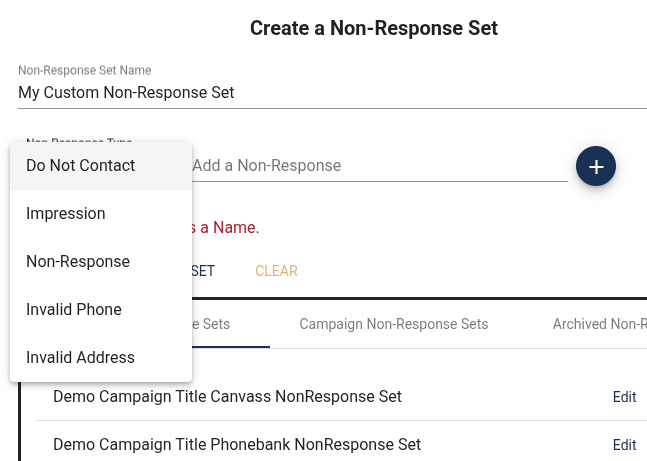
Add as many as you like:
- Do Not Contact: (This will remove access from this contact)
- Impression: (This will mark the contact as having left some sort of impression like a lit drop)
- Non-response: (No contact or lit drop, just not home or maybe not accessible.)
- Invalid Phone: (The contact info is no longer valid)
- Invalid Address: (The contact info is no longer valid)
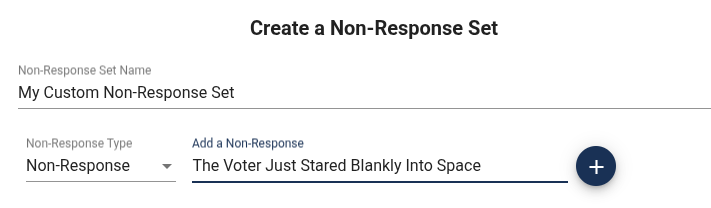
Write the Button text and click the blue Plus button. Then click on "CREATE NONRESPONSE SET"
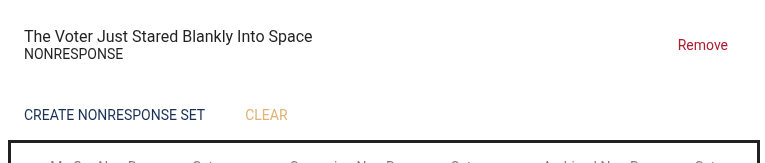
The non-response set is now available to add to an activity's survey.
View and Download Reports
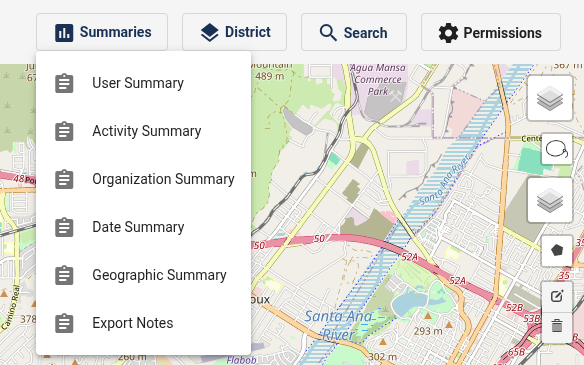
To view reports click on "Summary" in the top right menu.

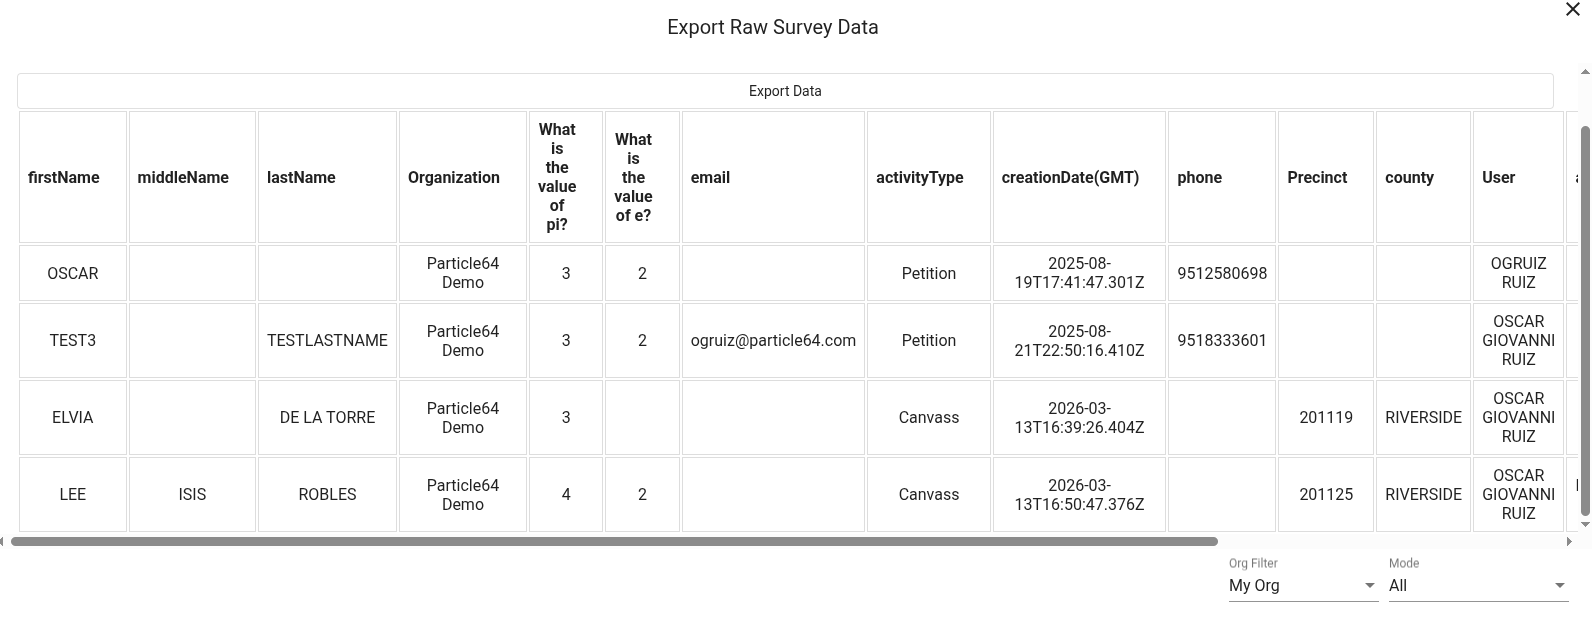
Here you will see the list of summaries and "Export Raw Survey Data." "Export Raw Survey Data" will export the survey responses to a table.
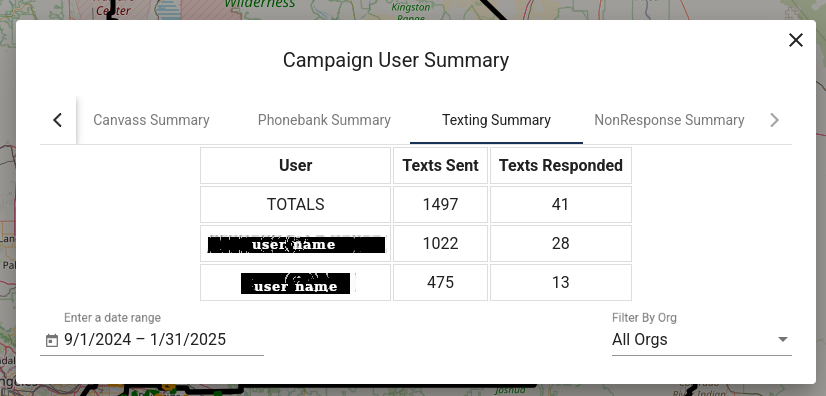
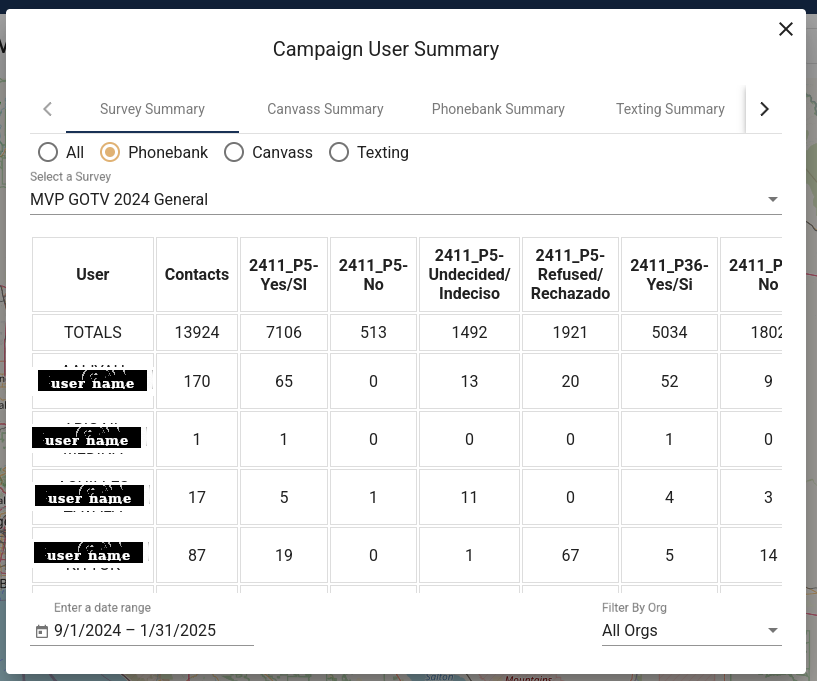
User Summary will break out how much a user has done in an activity like a Canvas, Phone Bank, Texting. It will aso show the non-responses by the user.
Data can be viewed by survey and by an activity.
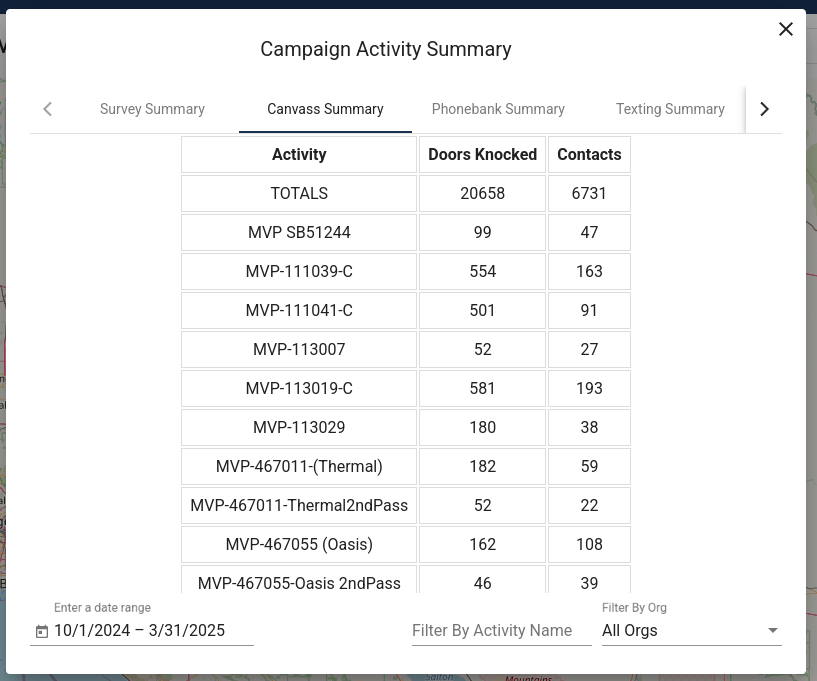
Activity Summary will present the collected data as a list of activities.
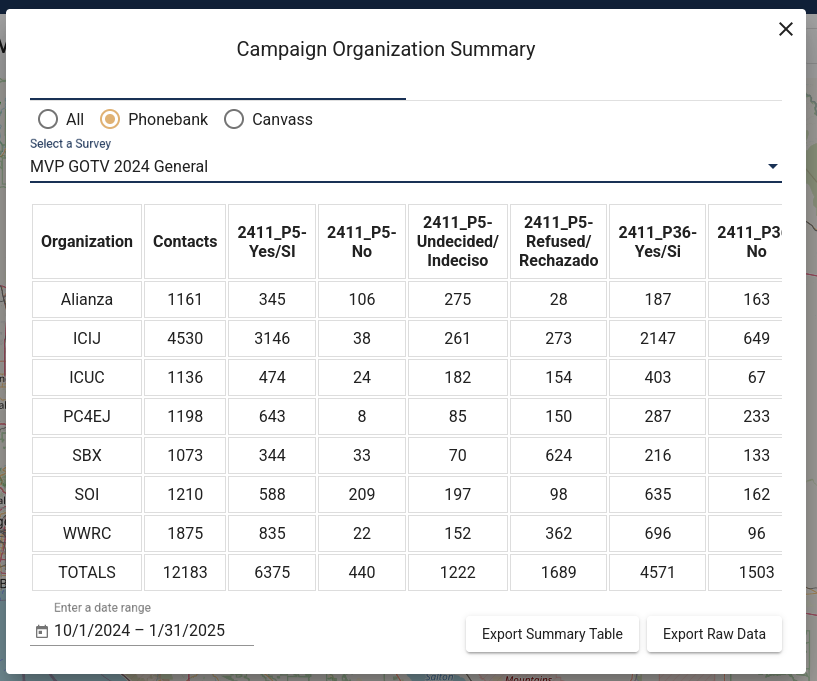
Organization Summary is broken out by how much an organization has contributed to a campaign's activity.
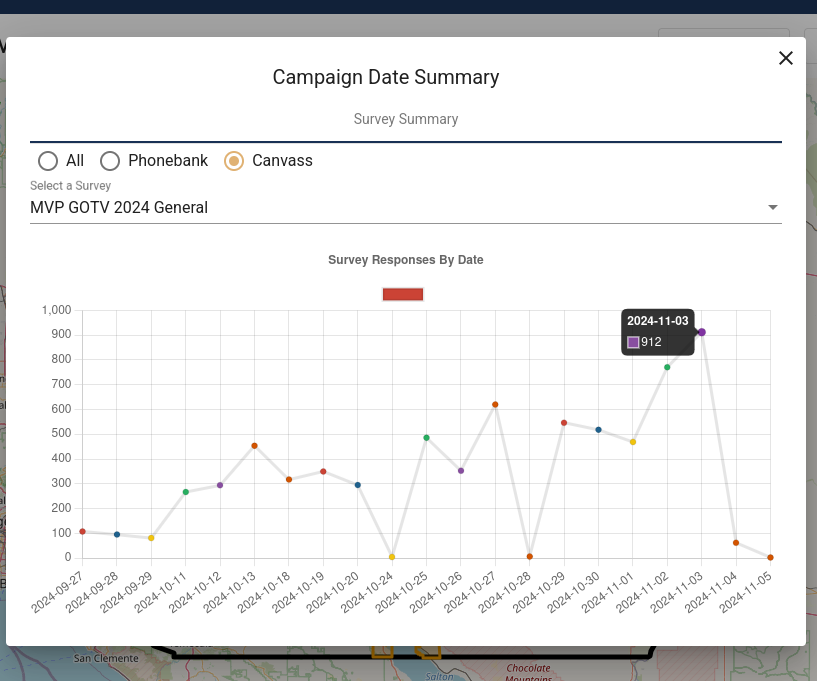
Data Summary graphically plots the data from a campaign over time.
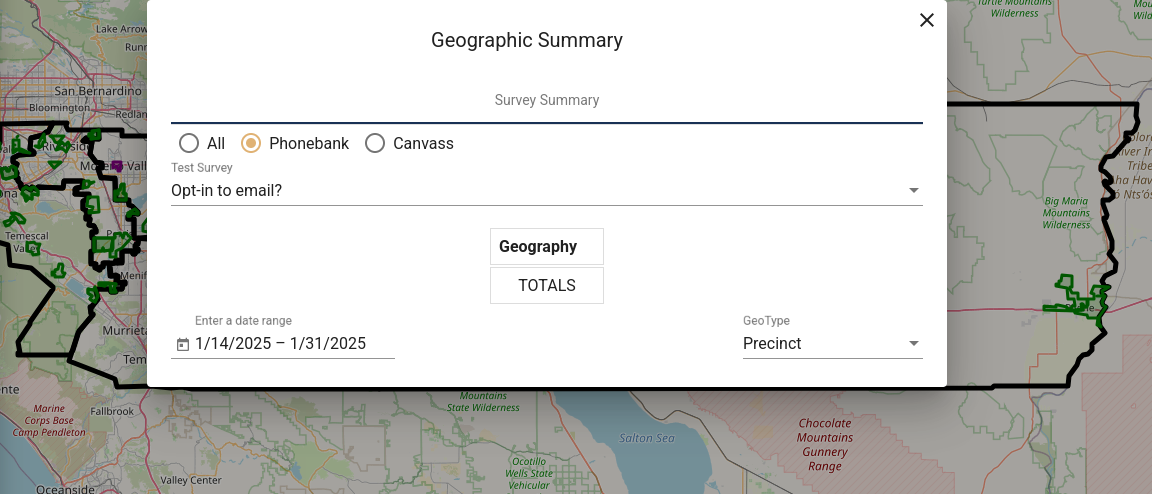
Geographic Summary displays data based on precinct, city or zip code.
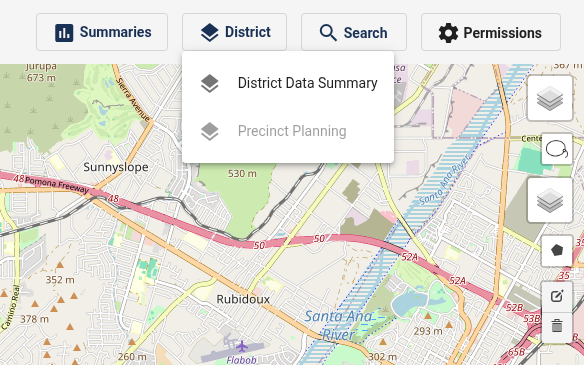
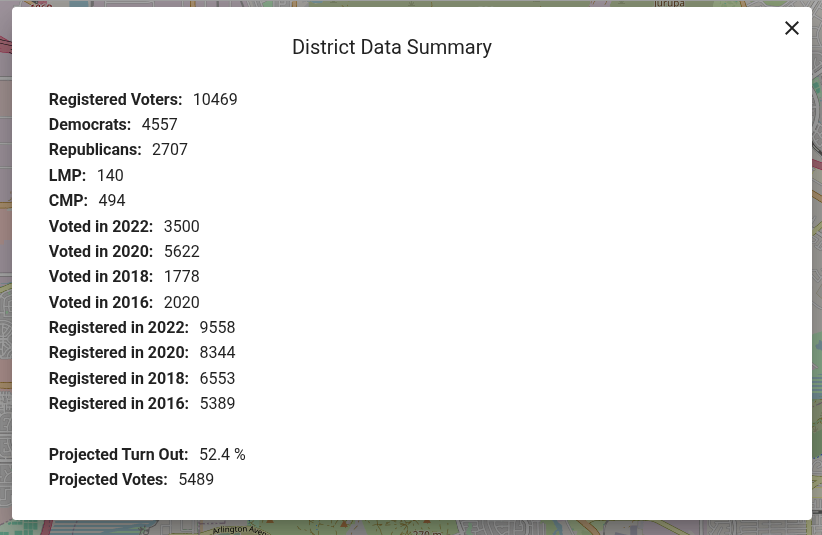
District Data Summary:
This displays some useful statistic about a campaigns defined geographic area.
View Precinct data
On the right hand side of the map, just above the Polygon tool, there is the map layer Icon. Click the Map Layer Icon and check the box next to "Precincts."
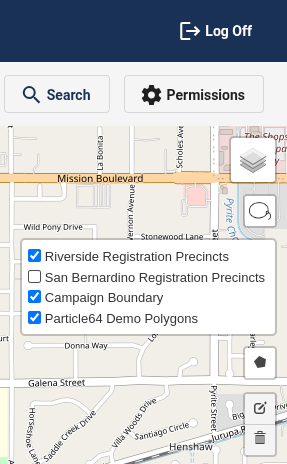
The map will load the Precinct Data.
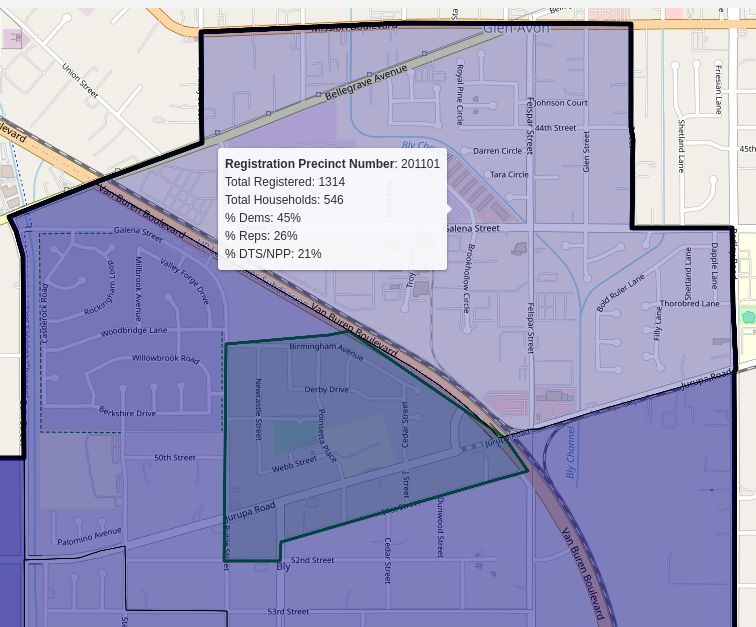
The map is color coded. If the area is blue, the largest plurality of registered voters are Democrats. If the area is red, the largest plurality of registered voters are Republican. If the area is yellow, the largest plurality of registered voters are third party and/or No Party Preference . If the precinct color is darker (more dense) the population is more dense. If the precinct color is more transparent, the population (of voters) is less dense.
Clicking on a Precinct will show the precinct's stats:
Using the lasso tool, an Administrator can create Polygons out of one or more Precincts. The lasso tool is above the map layer tool on the top right.

Any precinct that the Lasso circle overlaps will be added to the polygon.
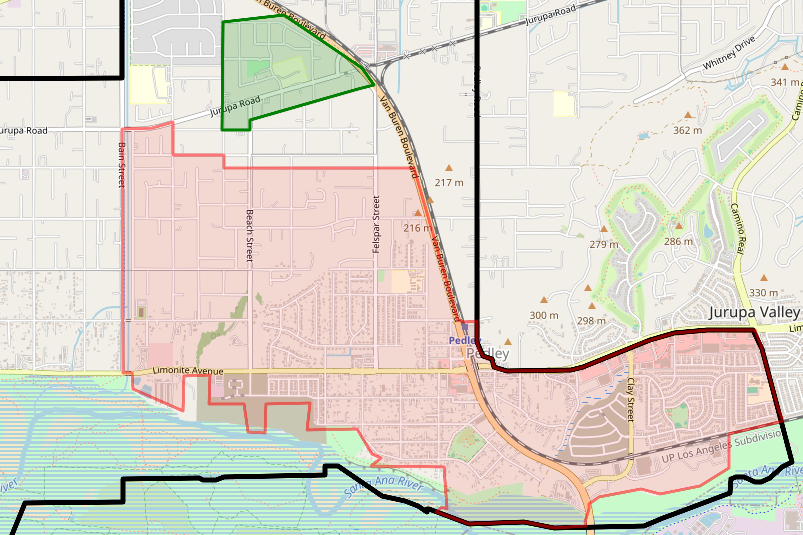
The green one is done and the pink area is drawn but not named and saved. Once named and saved, the new polygon will be available to use when creating groups.