Next to the "ADMINISTRATIVE TOOLS" is "CONTACT LISTS."
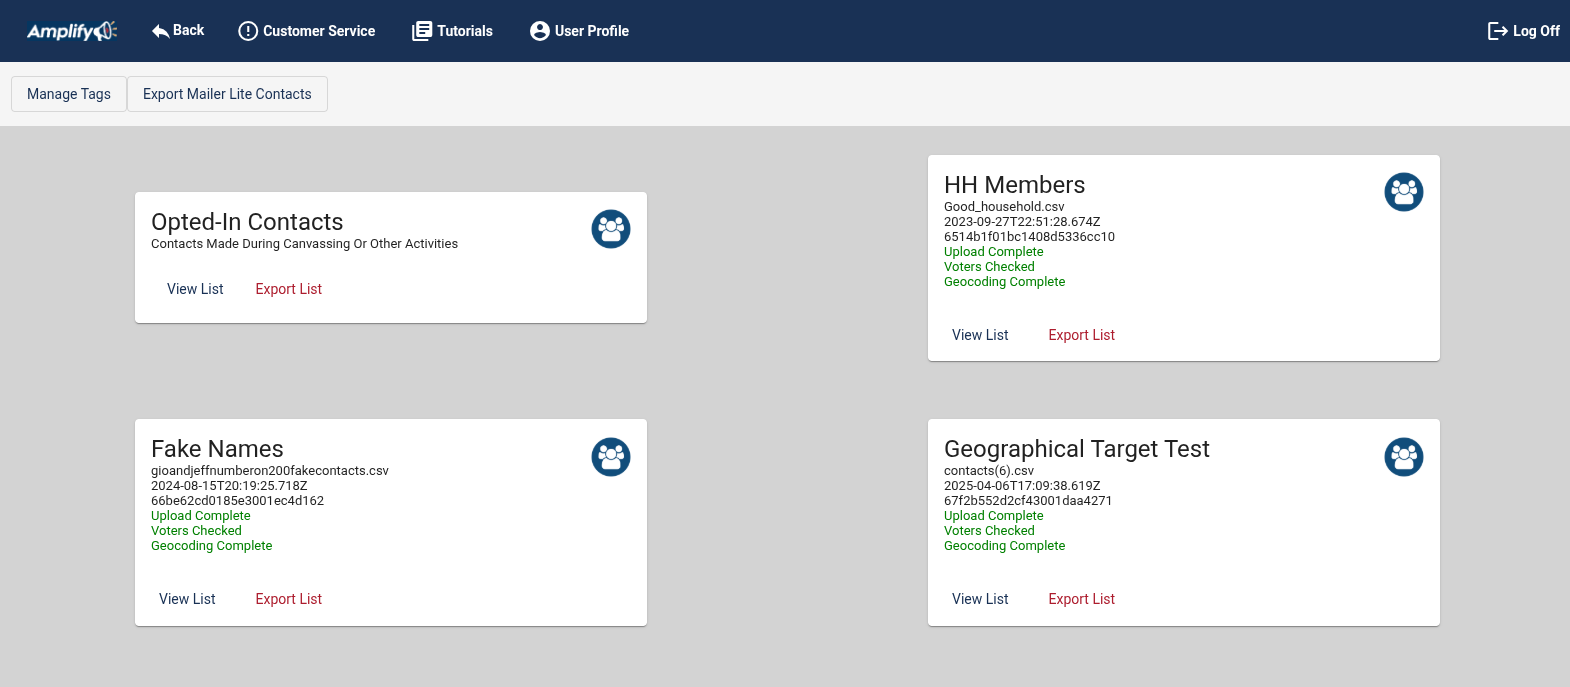
Here you can import and export contact lists, manage tags. After the the list is uploaded it will show up as a card on this page. When you upload a list, Amplify will compare the list to the database. If a contact's name, address, phone number and or email match up, the database's voter info will be added to your contact info. Amplifywill also geocode the contact addresses.
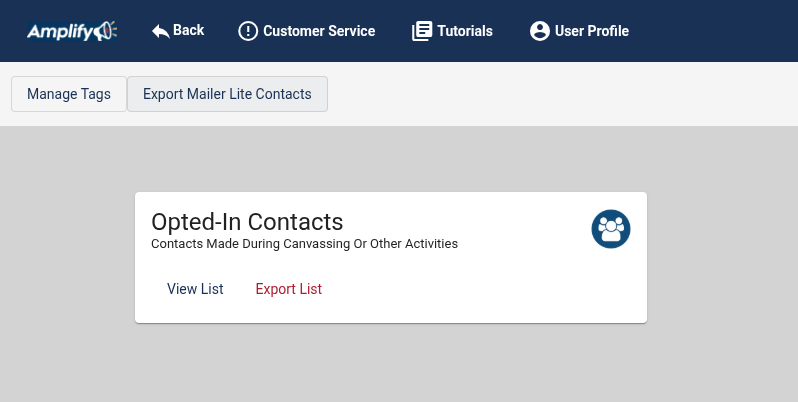
The card named Opted-In Contacts is the list of contacts who your campaigns have contacted and who have been opted-in by a person who completed one of your Surveys.
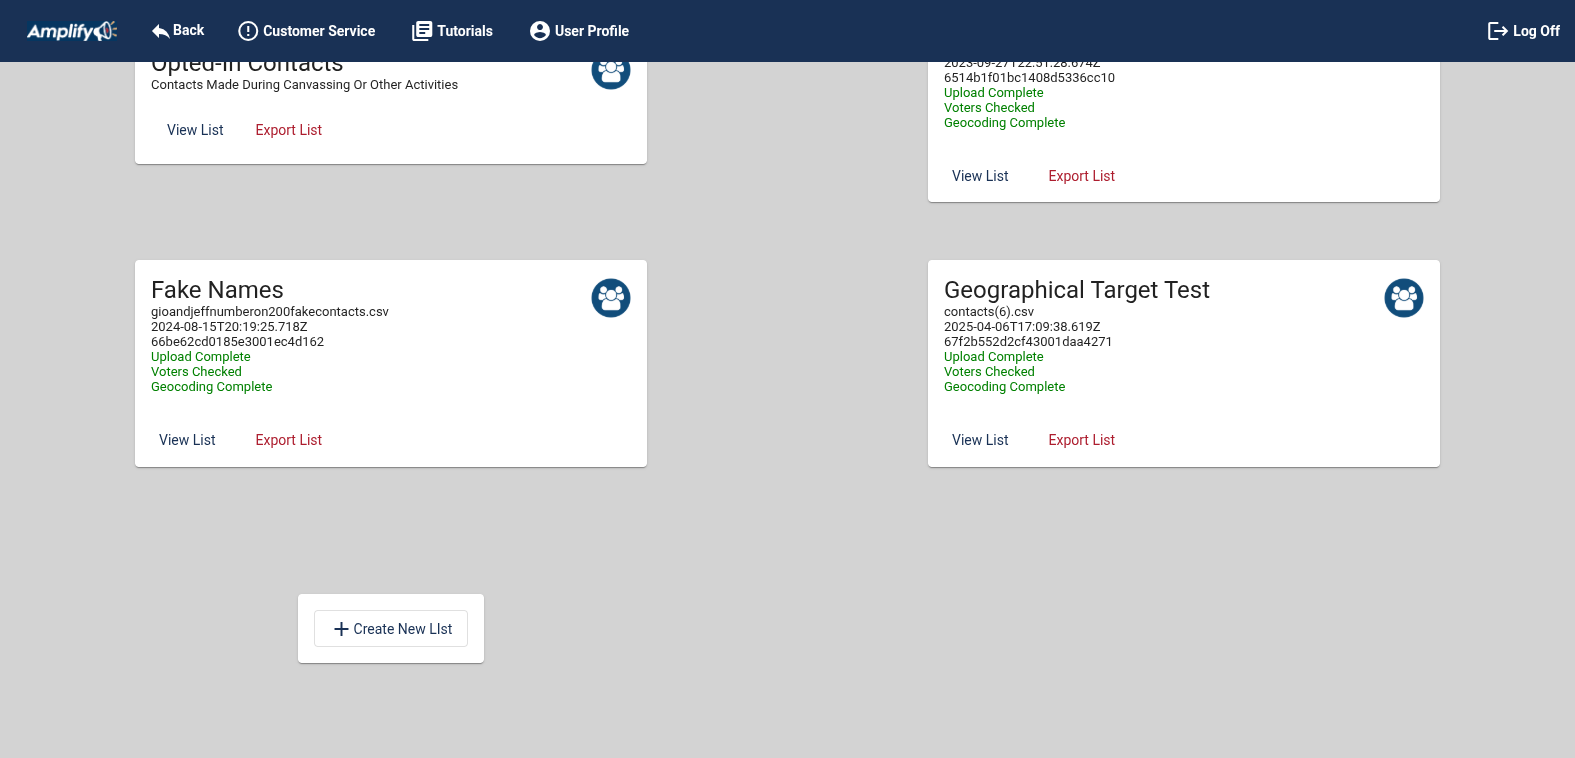
Other Contact lists are uploaded by clicking "Create New List."
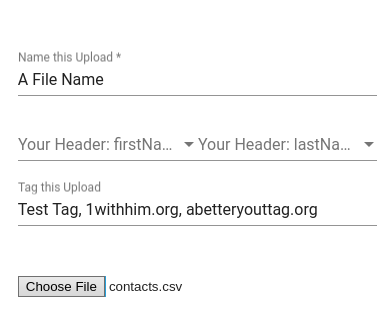
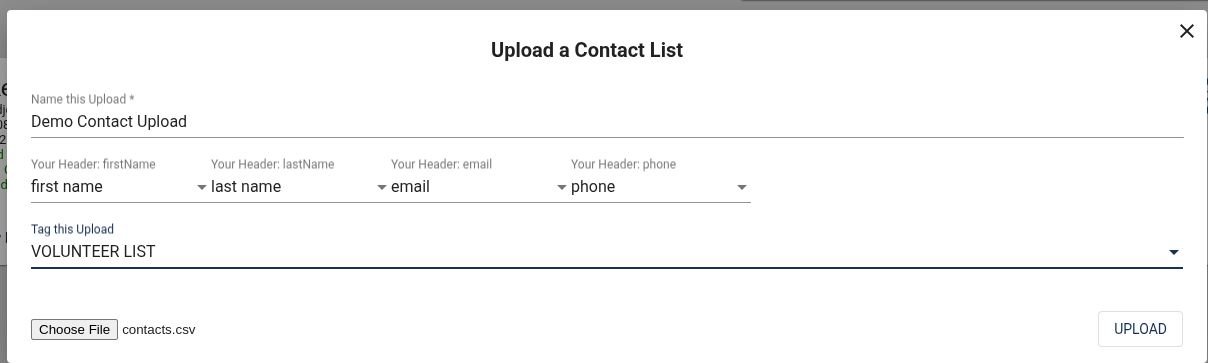
Give the list a Name and select a Tag. The upload will be tagged as the file name if you do not select a tag. You can assign as many tags as you like to the list. Tags are used to create groups in campaigns. Creating tags is discussed a little further down this page.
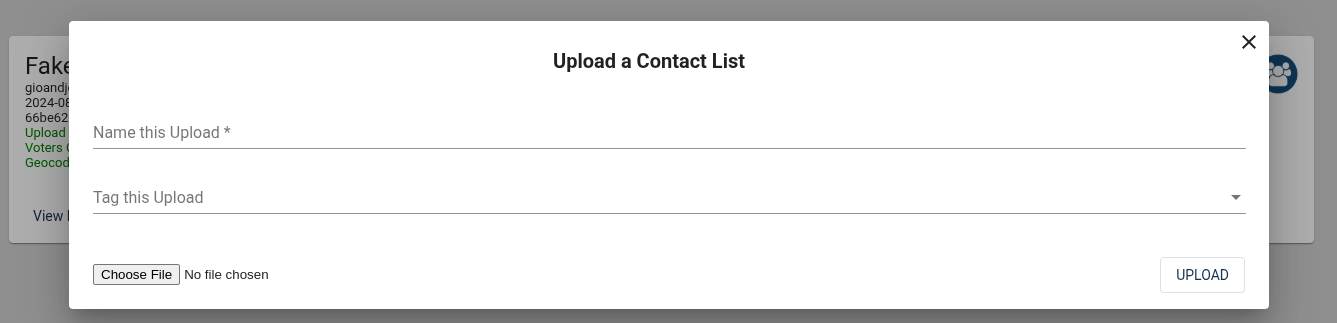
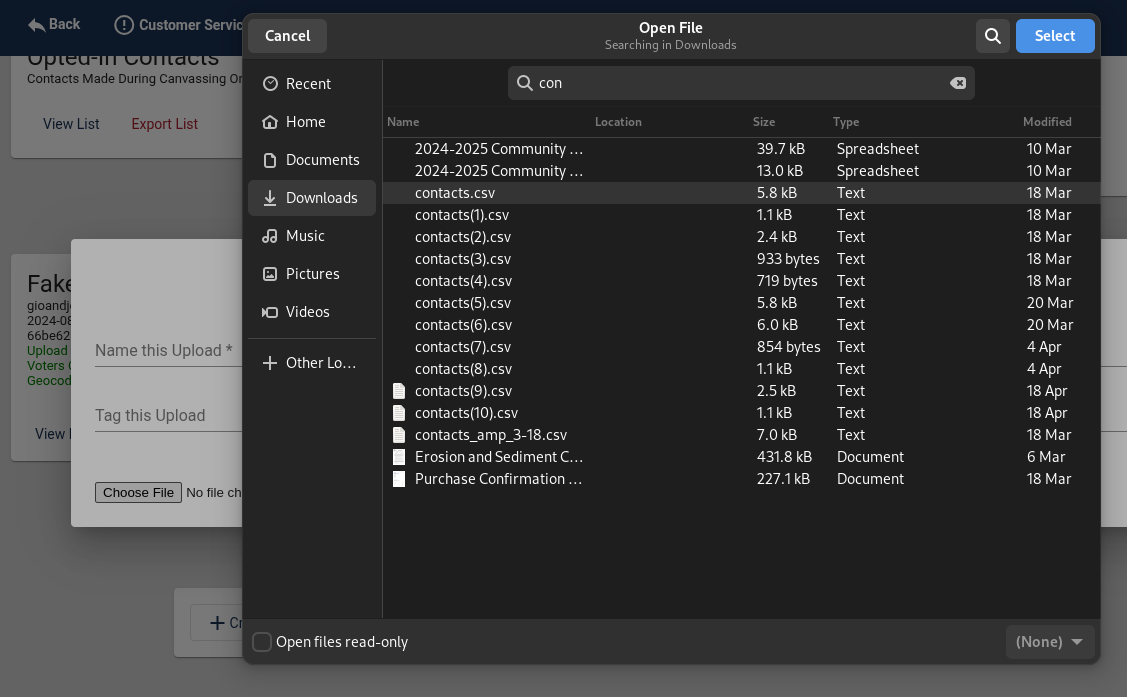
Click "Choose File"
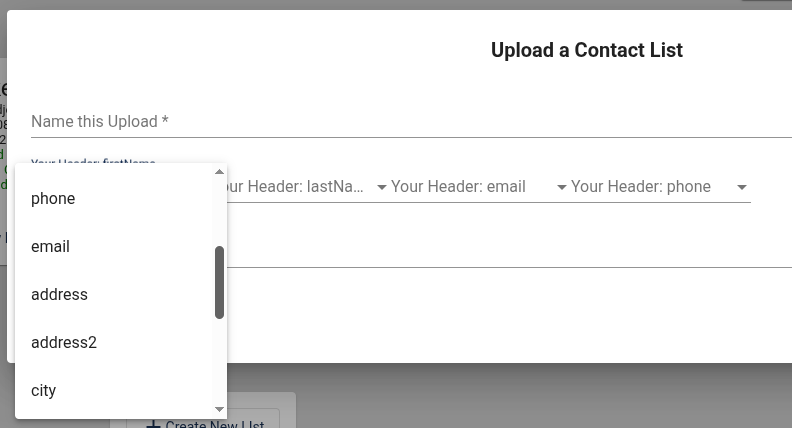
Map your spreadsheet's headers to the database.
Click "Upload"
After you upload the Contact List, Amplify will show the card with "Upload Complete" and after the contacts are checked against the database, the tasks will be reported on the card as completed.
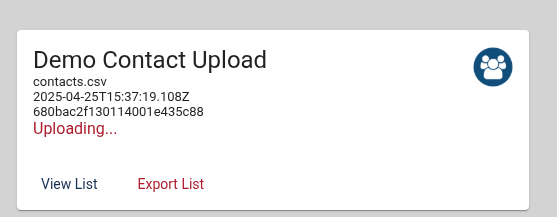
After the list is uploaded the card will report Upload Complete, Voters Checked and Geocoding Complete. You can view the list, export the list and change the name of the list. To change the name, click on the blue icon.
After a contact list is uploaded, the list will be available when creating Groups to include in Canvassing, Phonebanking and Texting activities.
To create tags or delete tags, click on Manage Tags.


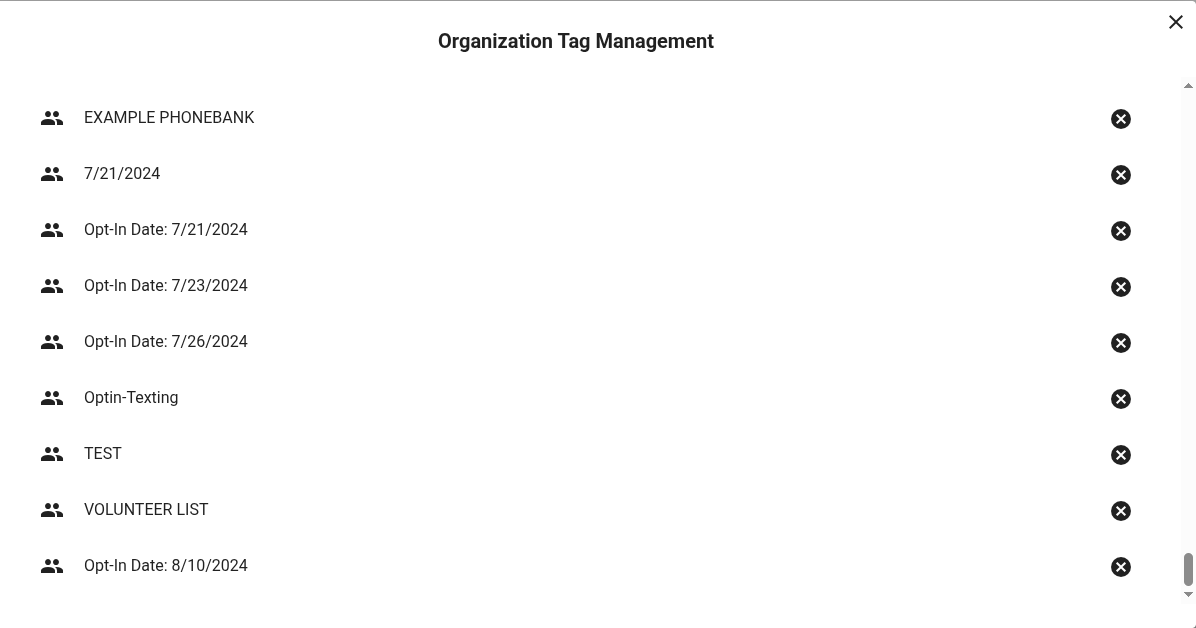
Name a tag and click the blue plus sign icon to Create a Tag. To Delete a Tag, click on the black X next to the tag name. After a Contact List is assigned a Tag, the tagged contacts will be available when creating Groups to include in Canvassing, Phonebanking and Texting activities.